Dear Fellow Basement Scientist,
We return to wind tunnel construction. Our extended absence in construction is unfortunate, but this is a lesson in many pursuits which are not our day job. These evening and weekend tasks often hit delays and sometimes we can’t return to them for a while. However, don’t give up. We may get discouraged and think our goals not worth attempting. Don’t believe this, have patience and return when the opportunity arises again. With diligence life often has enough little opportunities and breaks, so that after a few years of intermittent work, we can look back and be surprised at how much we’ve accomplished. So it is with basement science, and now we return to constructing the wind tunnel
Our last efforts were designing the door to the wind tunnel test section. This door satisfies the obvious need to put the objects into the wind tunnel. This discussion may be viewed here: Discussion. Our task today involves two main tools; an electric drill, a reciprocating saw.
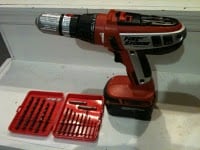
These tools are very powerful and useful, however they are electric hand tools and not known for their accuracy. However, cutting the door from the bottom of the test section is a careful task. Therefore, we cannot be clumsy with these tools. I do not just mean from a safety standpoint, but very easily with these tools you can move the blade off-course damaging the wind tunnel and creating more work for ourselves through repair. So, be careful and have patience.
As discussed during the design, we are making the door to have an angled edge in order to create a better seal. Therefore, the bottom plate of the reciprocating saw much be rotated in order to cut at an angle. Ok, fair enough. The first trouble we come to, however, is the fact that we are making a hole in the center of the board…how do we get the blade into the wood to start cutting? This is where the drill comes into play. We need to drill a large hole into the wood at an angle to make room for the saw blade. Also, since we want to produce the least amount of stray cuts as possible, we really need to plan this cut. Man! I thought we were done planning! Nope, we even have to plan how we complete our plans.
Here is how I decided to make the cut. I don’t want to round the sides of the door with the reciprocating saw because it does not make sharp bends well. In order to make sharp corners, we will drill 4 holes, one at every corner, prior to using the saw in order to make those turns. It is difficult to drill the same angle 4 times by just eyeballing it, so I made this jig to guide the drill bit: I first drilled a hole perpendicular to the surface, then measured and cut the block at this angle.

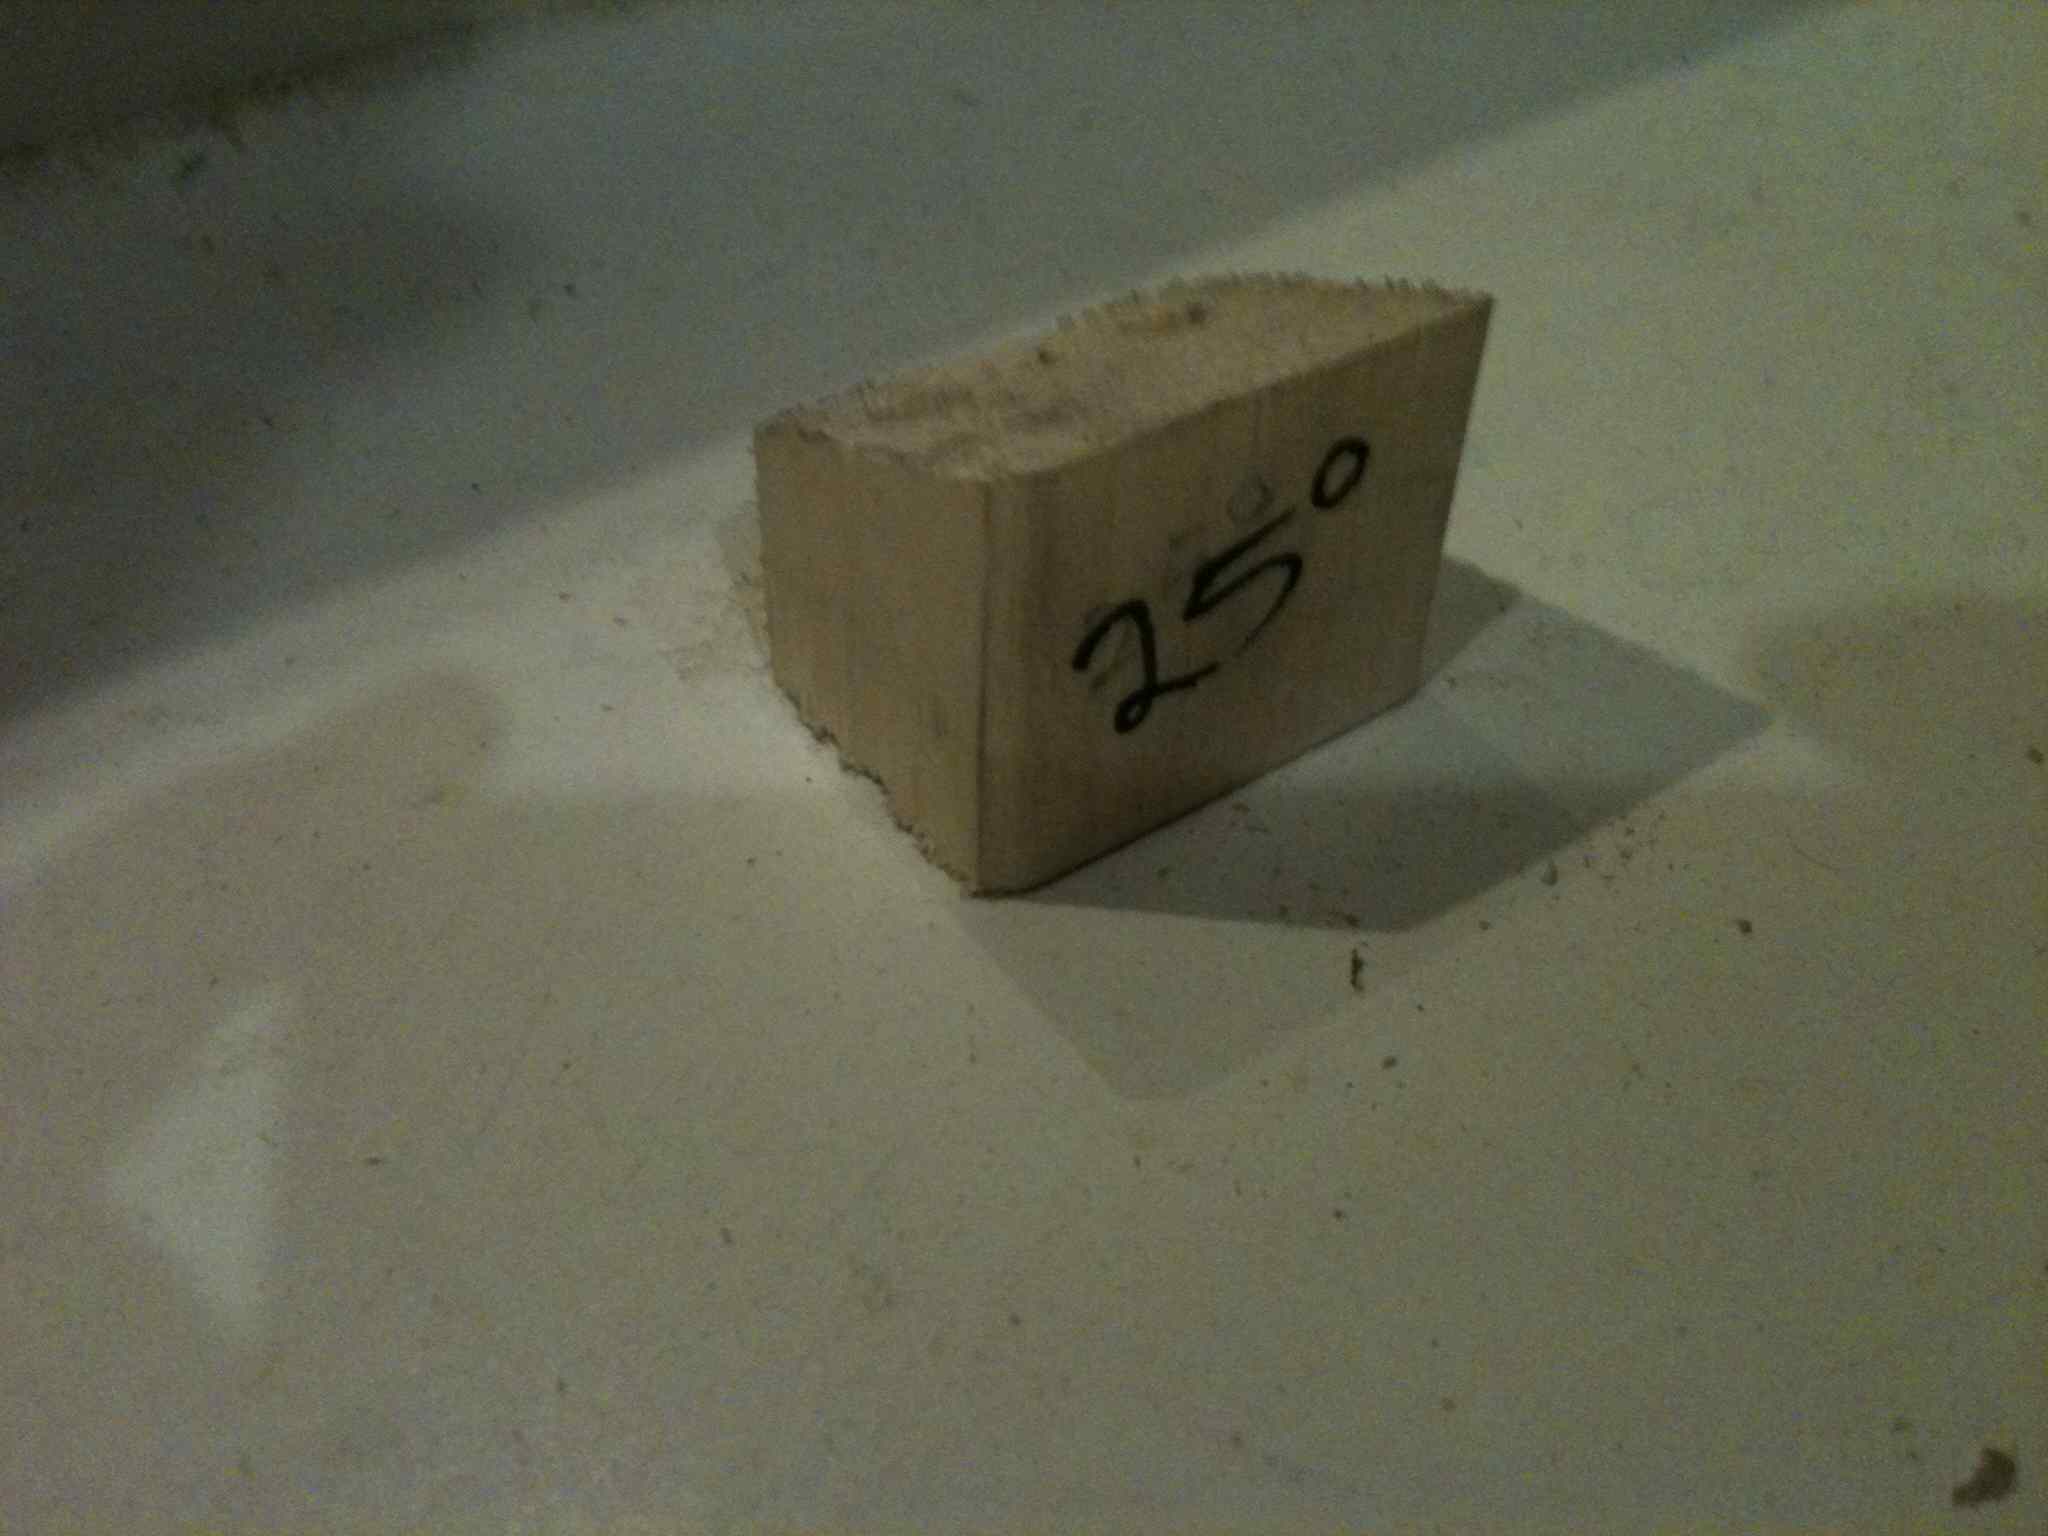
Mark out the dimensions and carefully drill the four corners, then make the cut with the saw. You may have to play around with the angle on the reciprocating saw a bit, but keep a steady hand and cut the door out…remember, the angle should be such that door goes out not into the wind tunnel. I had to be quite patient with the cut in order to make straight lines.
Alright, to create seal, I bought some window sealer with adhesive backing.
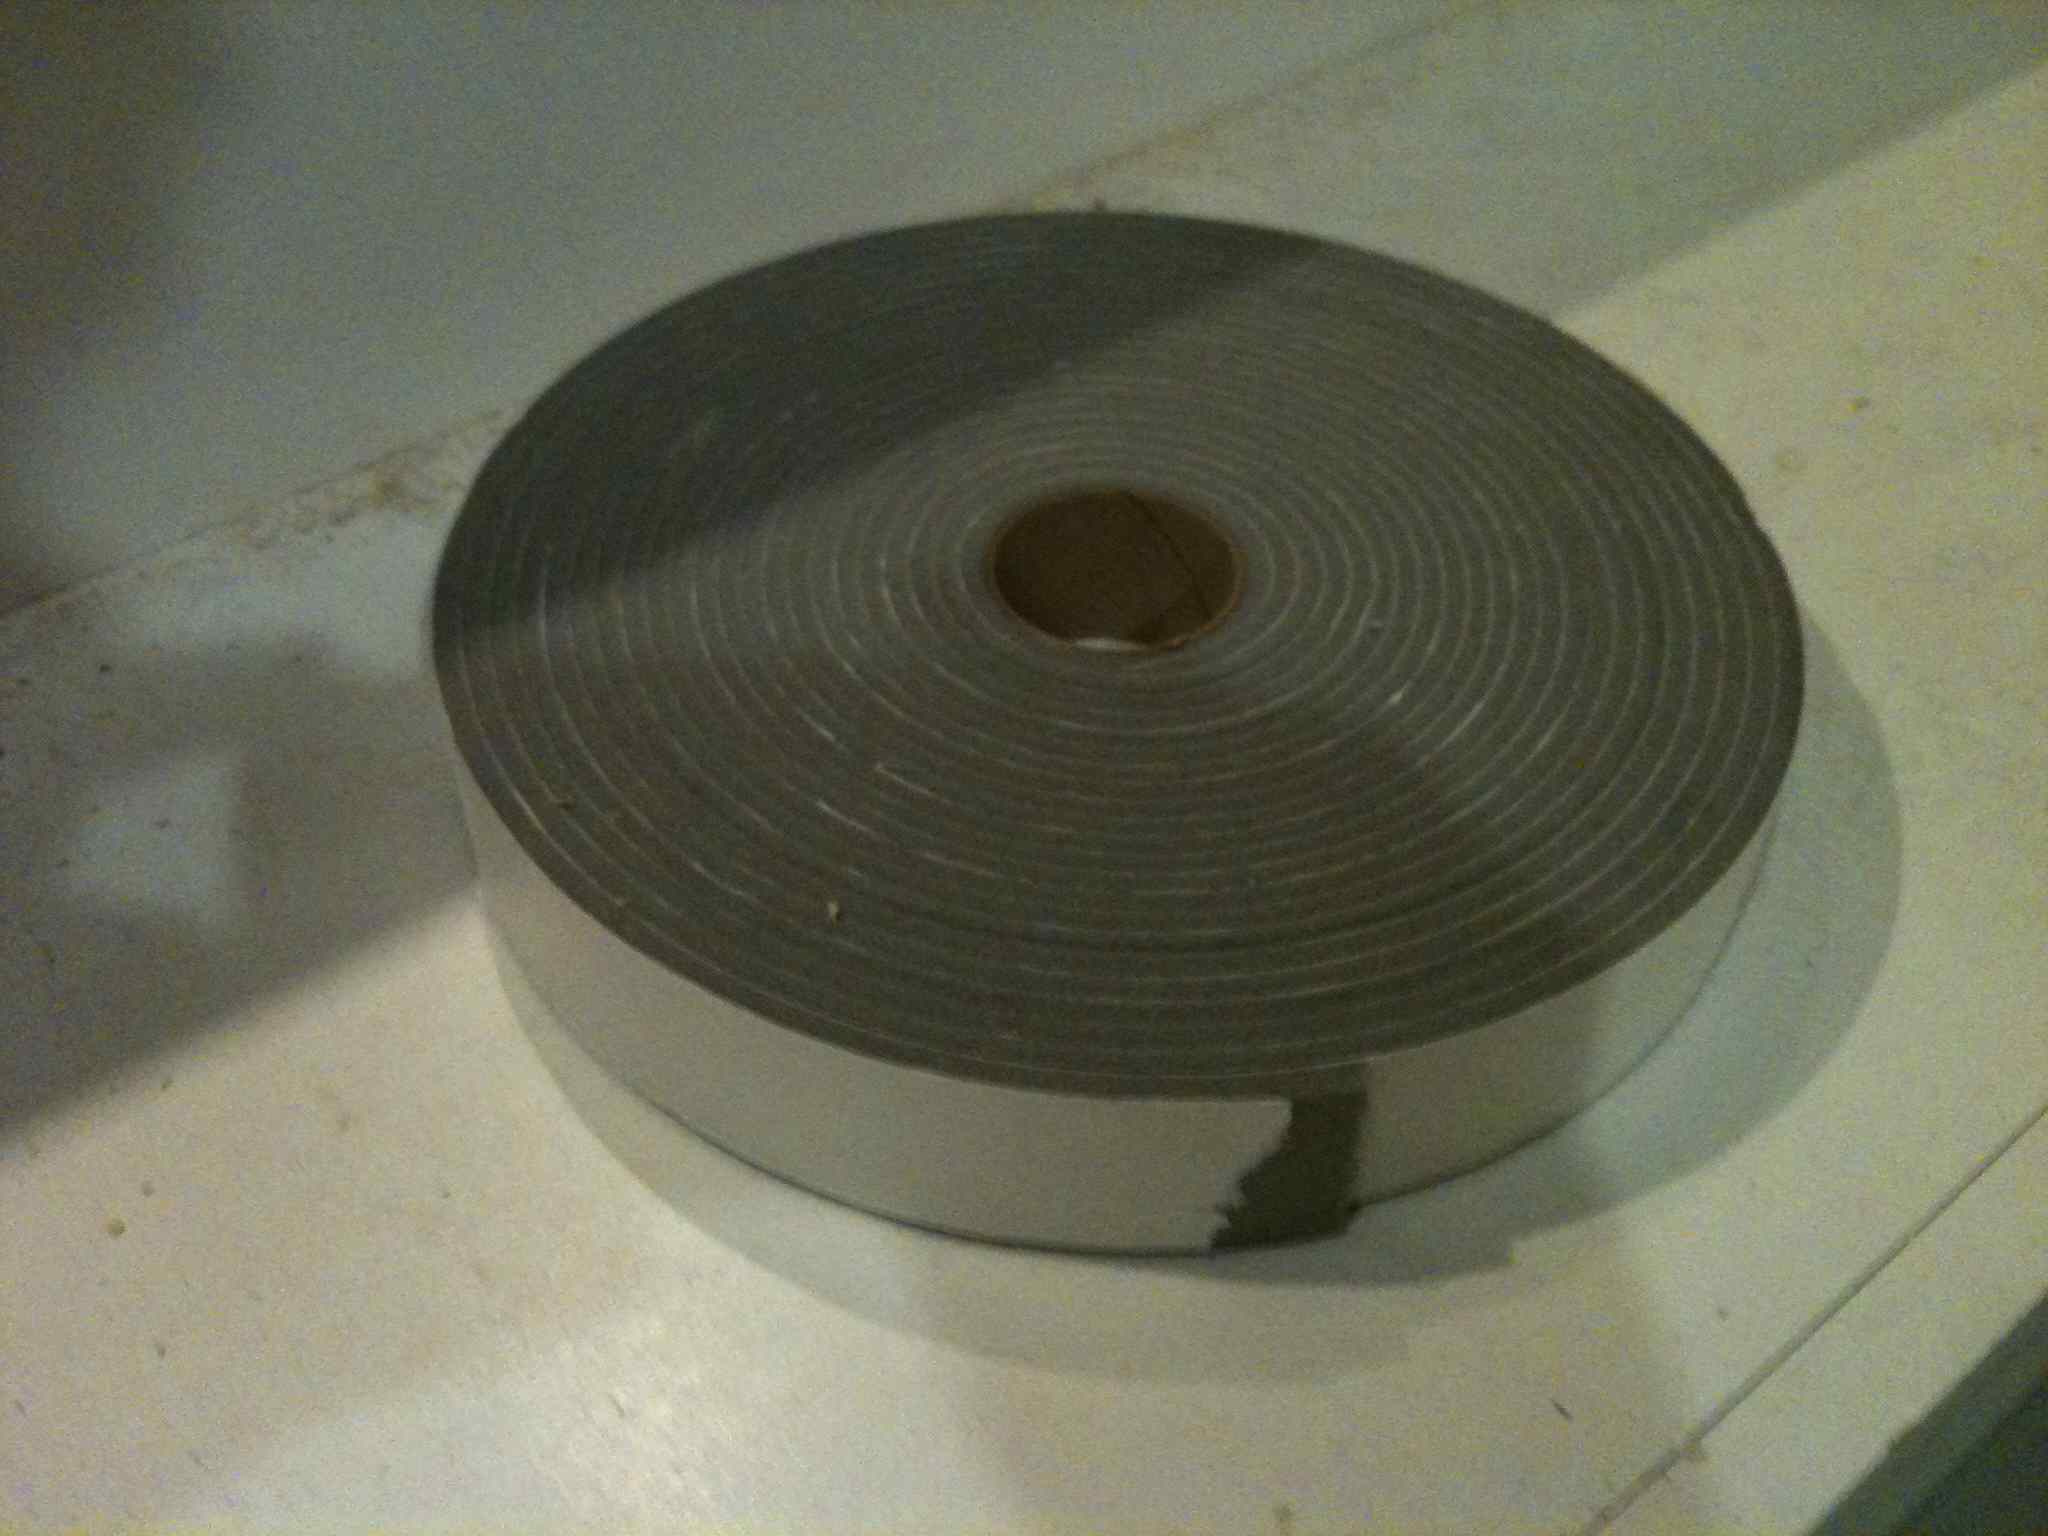
I placed this at all the edges of the door, but realized the adhesive was too weak and turned too..?.?.? You guessed it, duck tape-the shop handyman!
-INTERLUDE-
So, perhaps many basement scientists are aware of the challenge to duck tape’s reign as the shop handyman, that being from Gorilla tape -this the cousin of Gorilla glue. No doubt this is a tough contest. Tough in that the winner is not immediately clear, and tough on my heart to consider the famed duct tape falling from its position. Have no fear, the confirmed consensus remains with duct tape. – Gorilla tape frustratingly sticks to your hands too much and has too much girth. To me it seems like bringing a bomber to a dog fight. So of course, Gorilla tape has its place, but not as the all around shop handyman.
-END INTERLUDE-
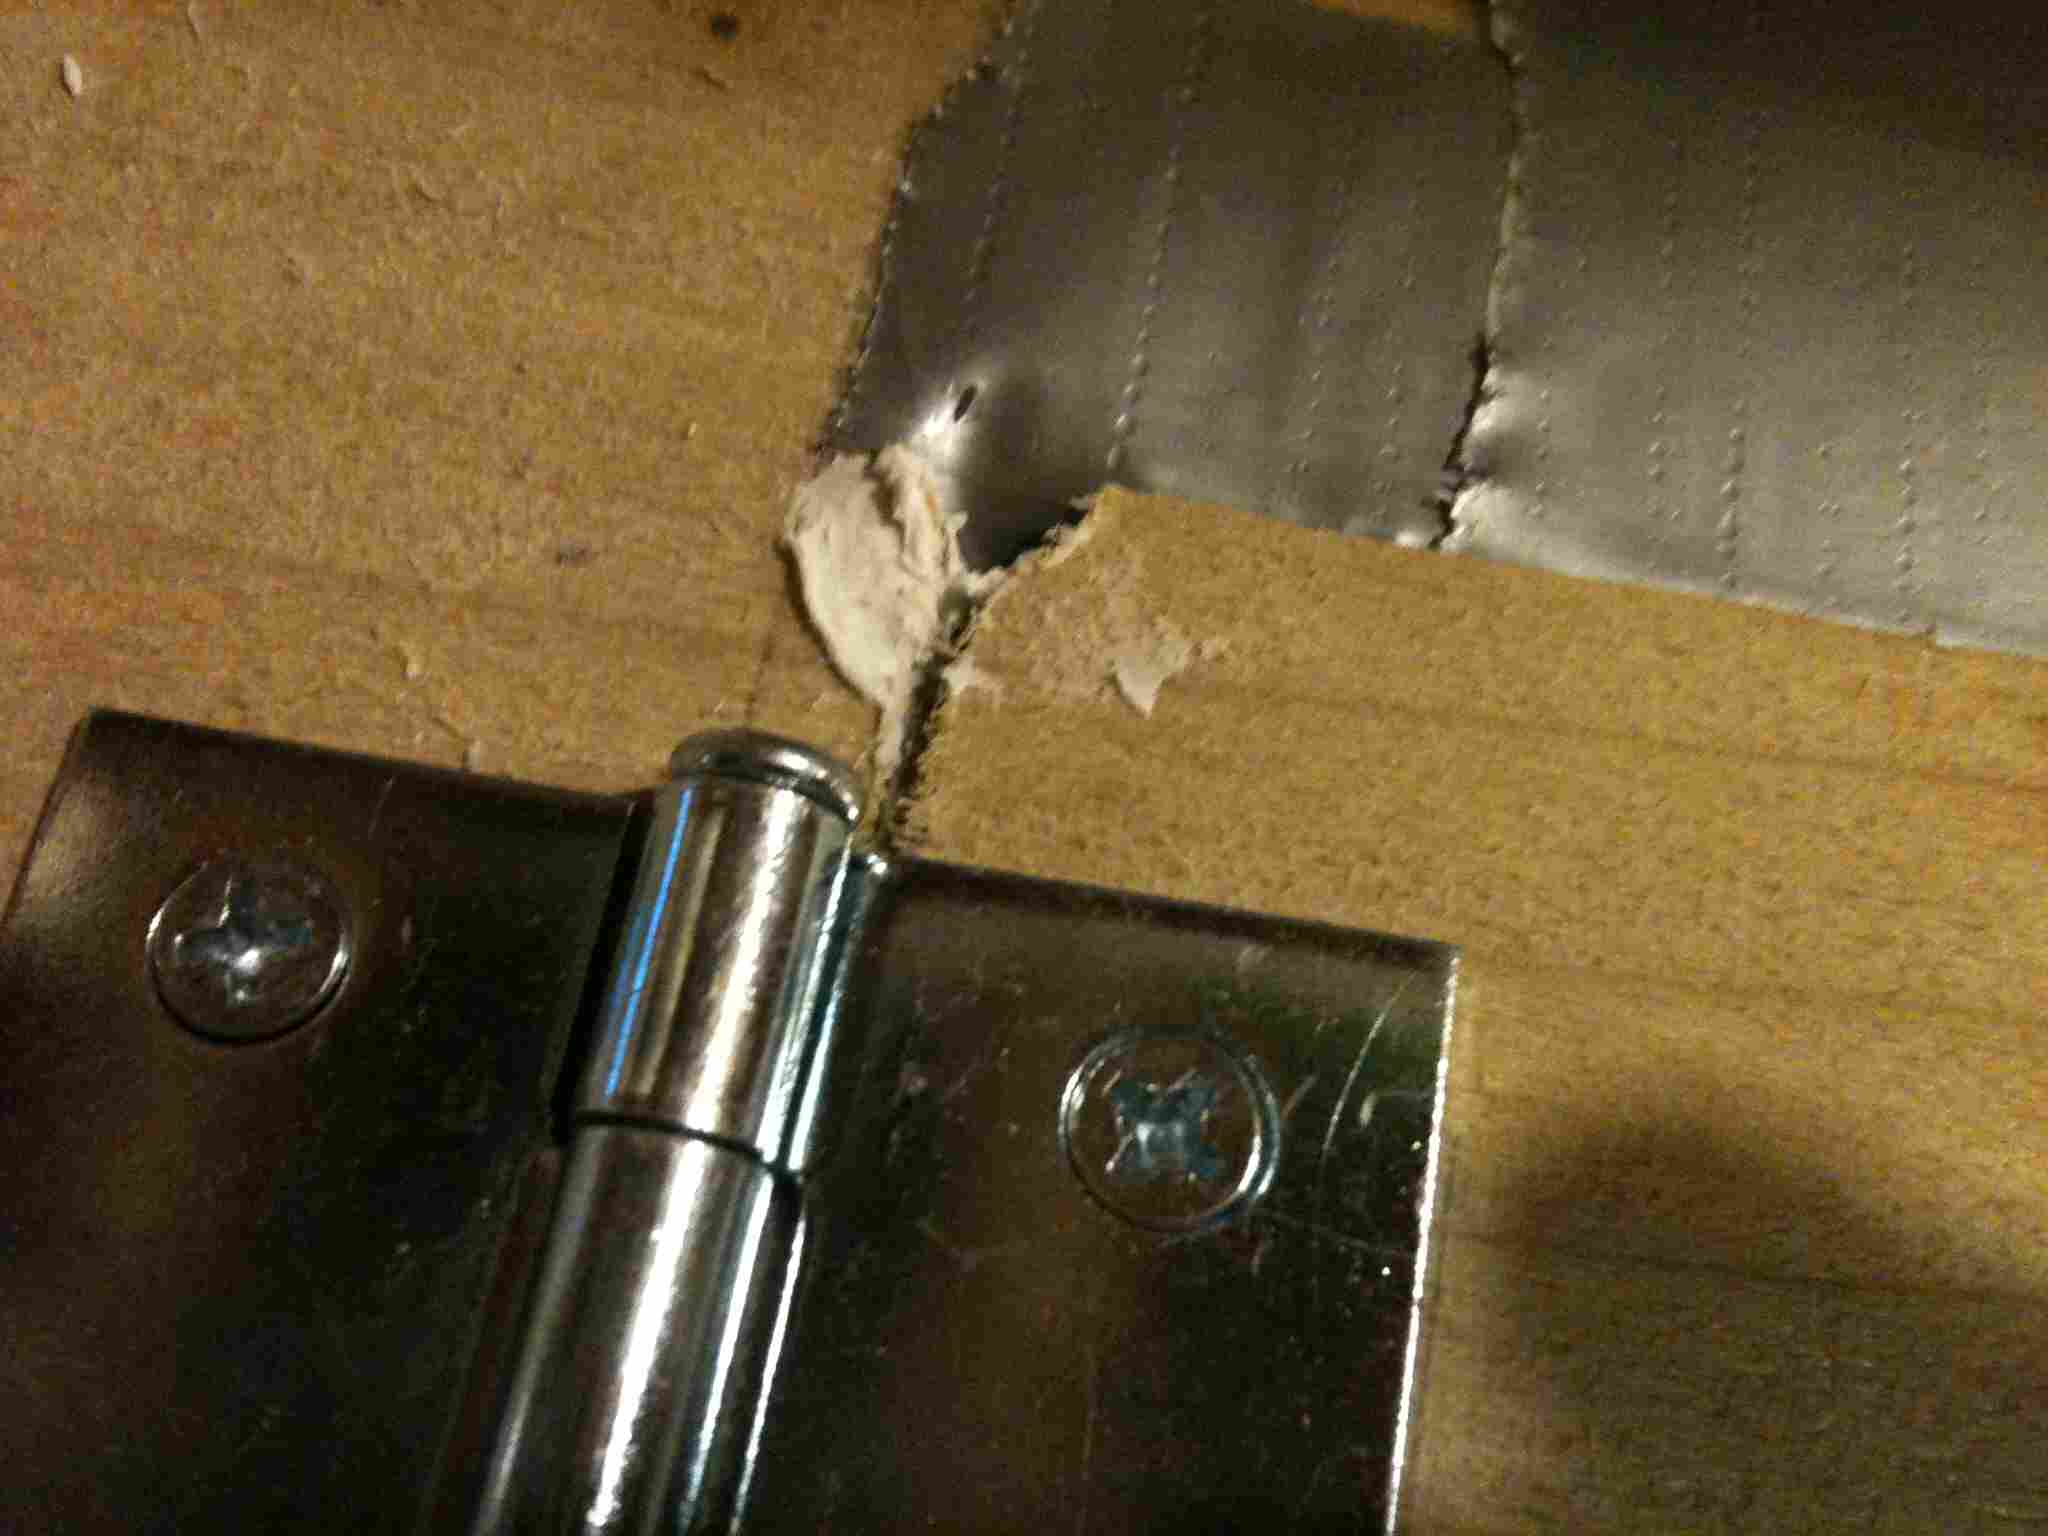
After the duct tape, we need to attach the door. Fortunately, I predicted this and bought a hinge! The best way to attach the hinge is with the door shut and in place. Wow, that is a good looking door! How fun!
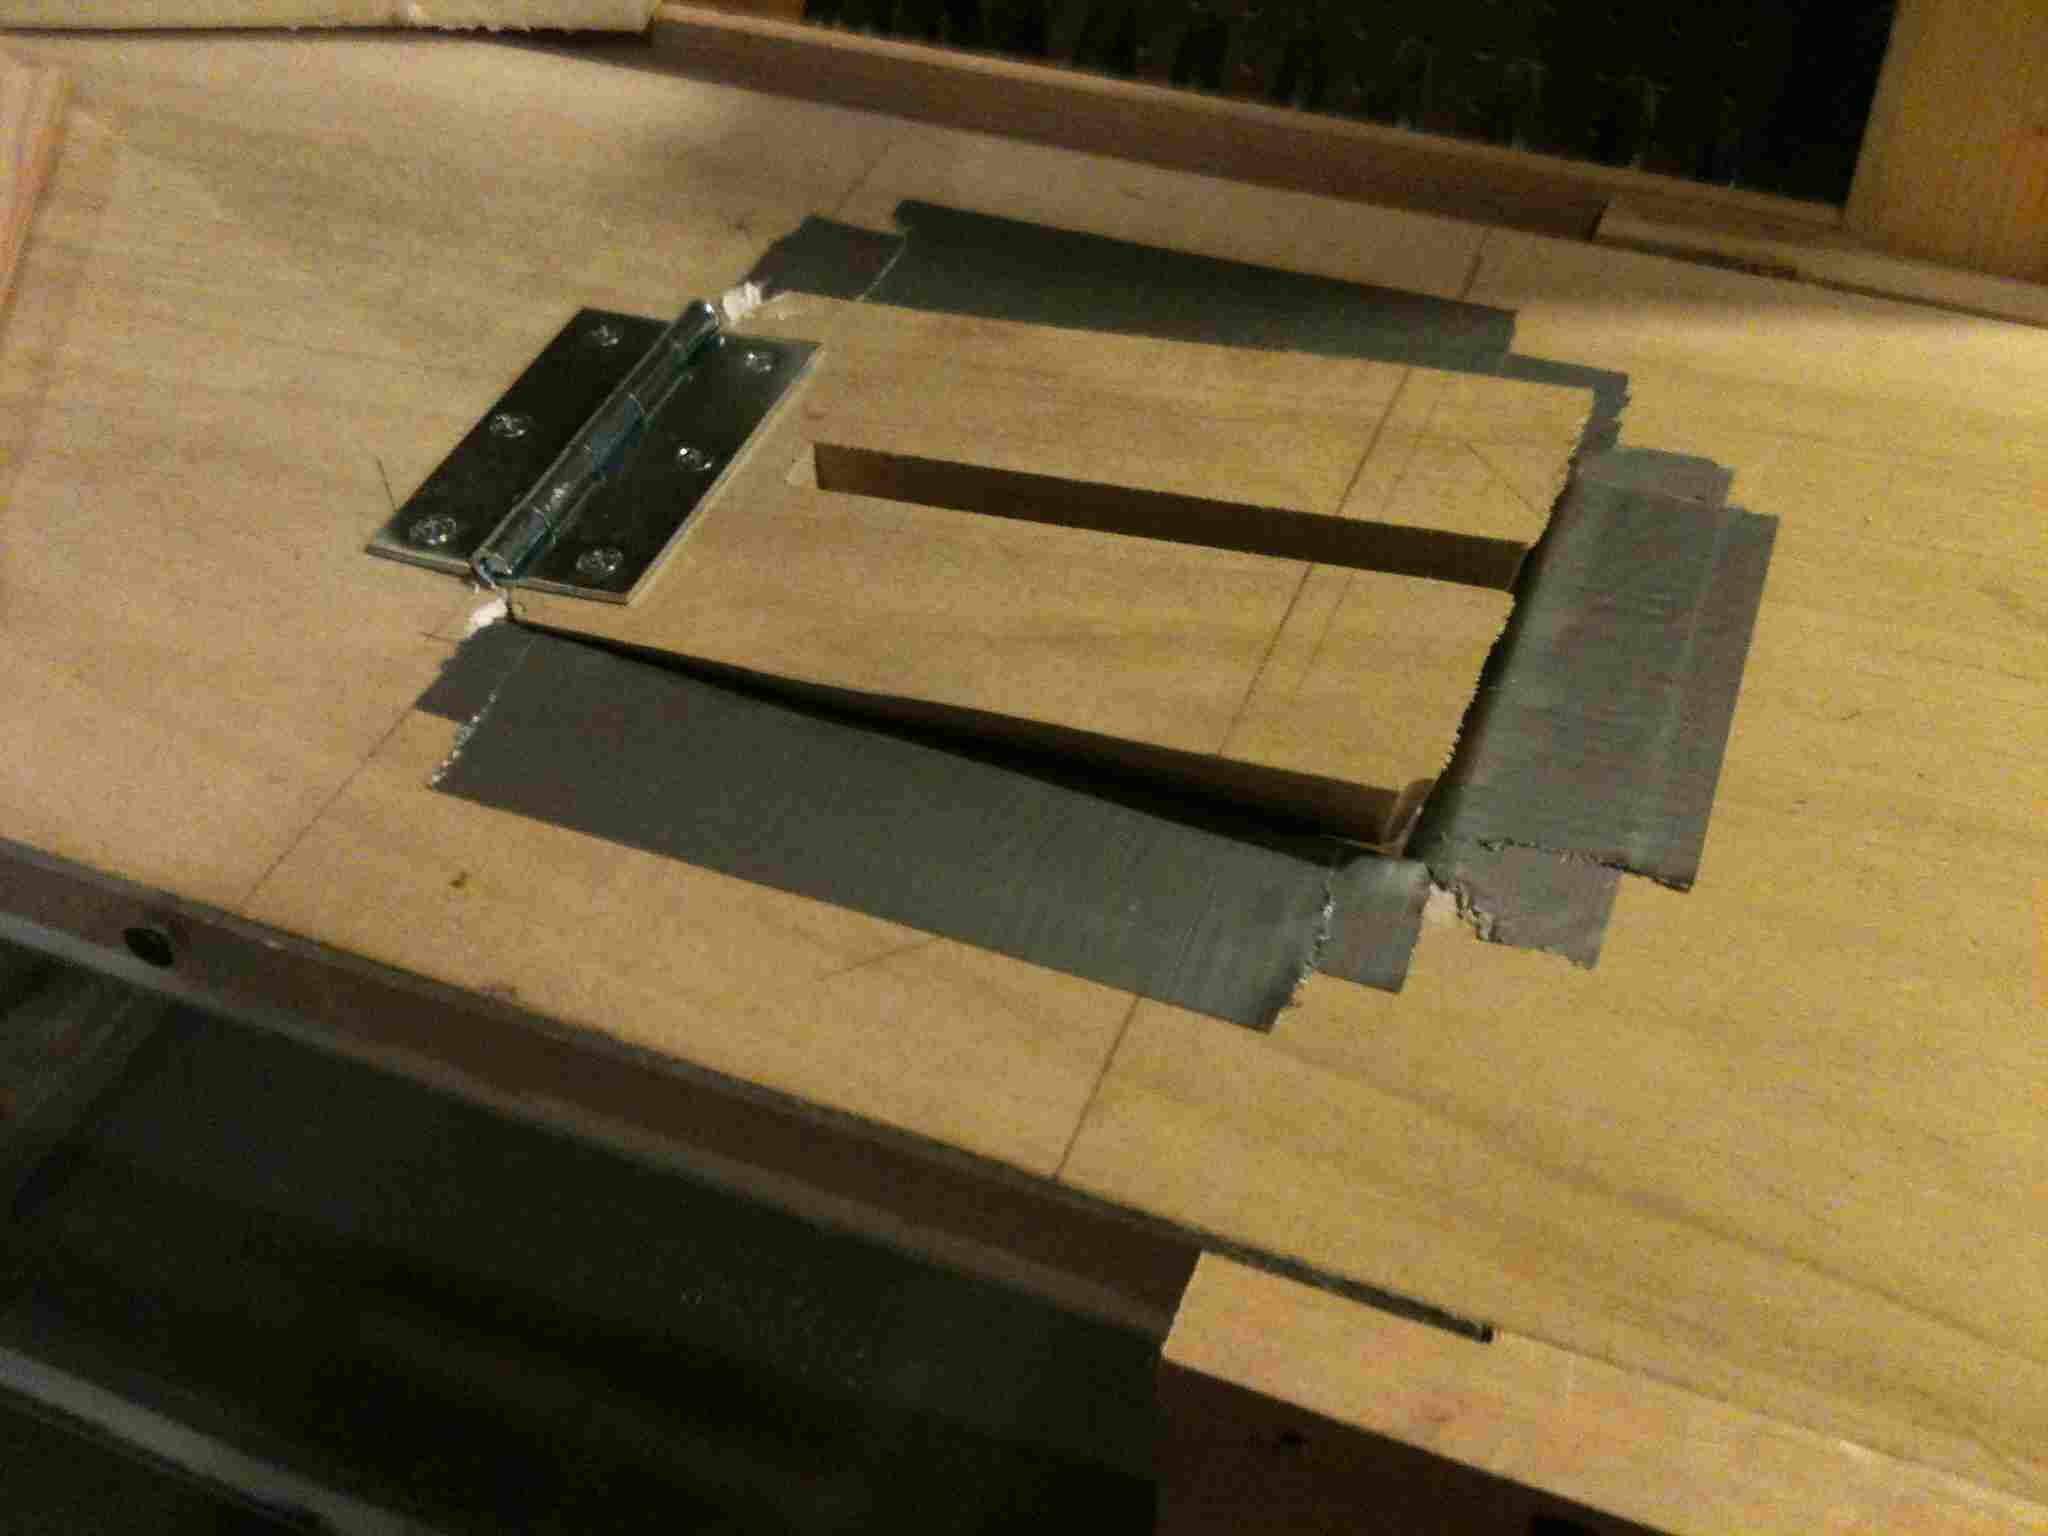
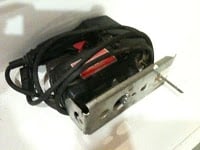
What I did not buy, however, is a way to hold the door shut. I searched around the shop and rounded up these candidates.

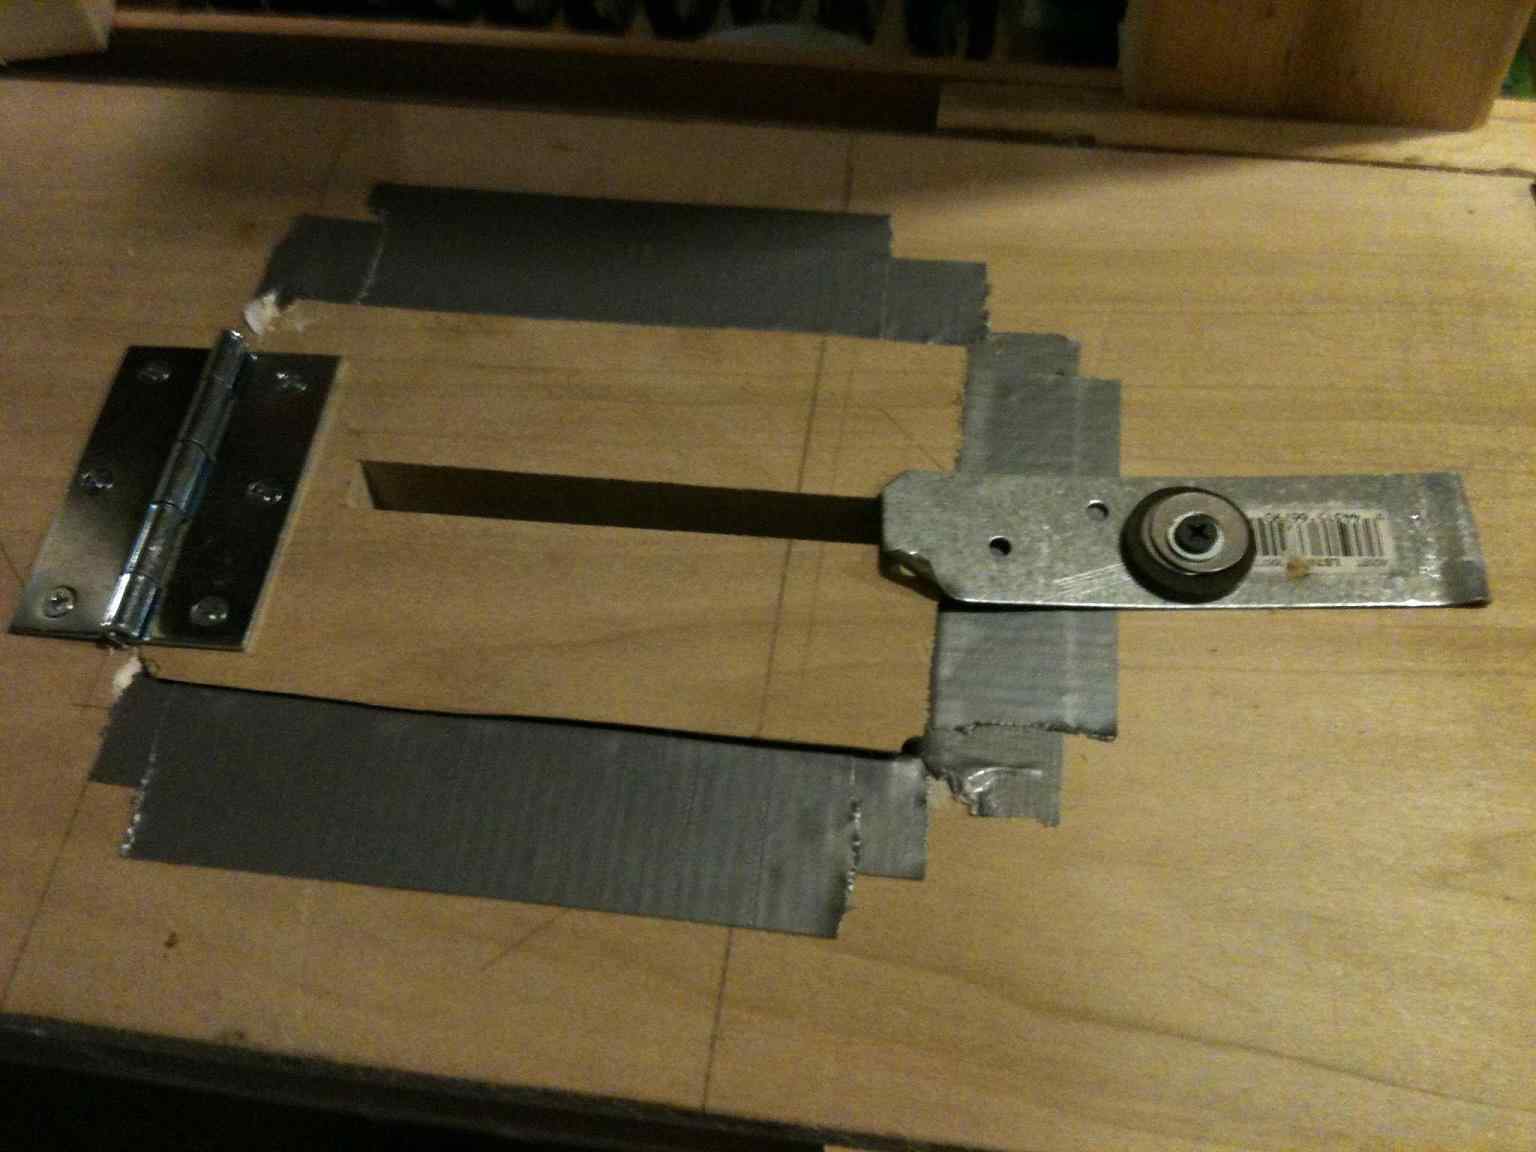
However, I could not think of a great way to use these. I then searched some more. As mentioned before, basement science involves the art of “whats available?“. You must be creative and find something that would work because we just don’t have the time or money to find the perfect thing. Also, that perfect thing might not exist. So, I found a metal strap with holes. We can screw this in and with washers it will easily rotate latching the door shut! Be careful to use a short screw to not penetrate all the way through the wood.
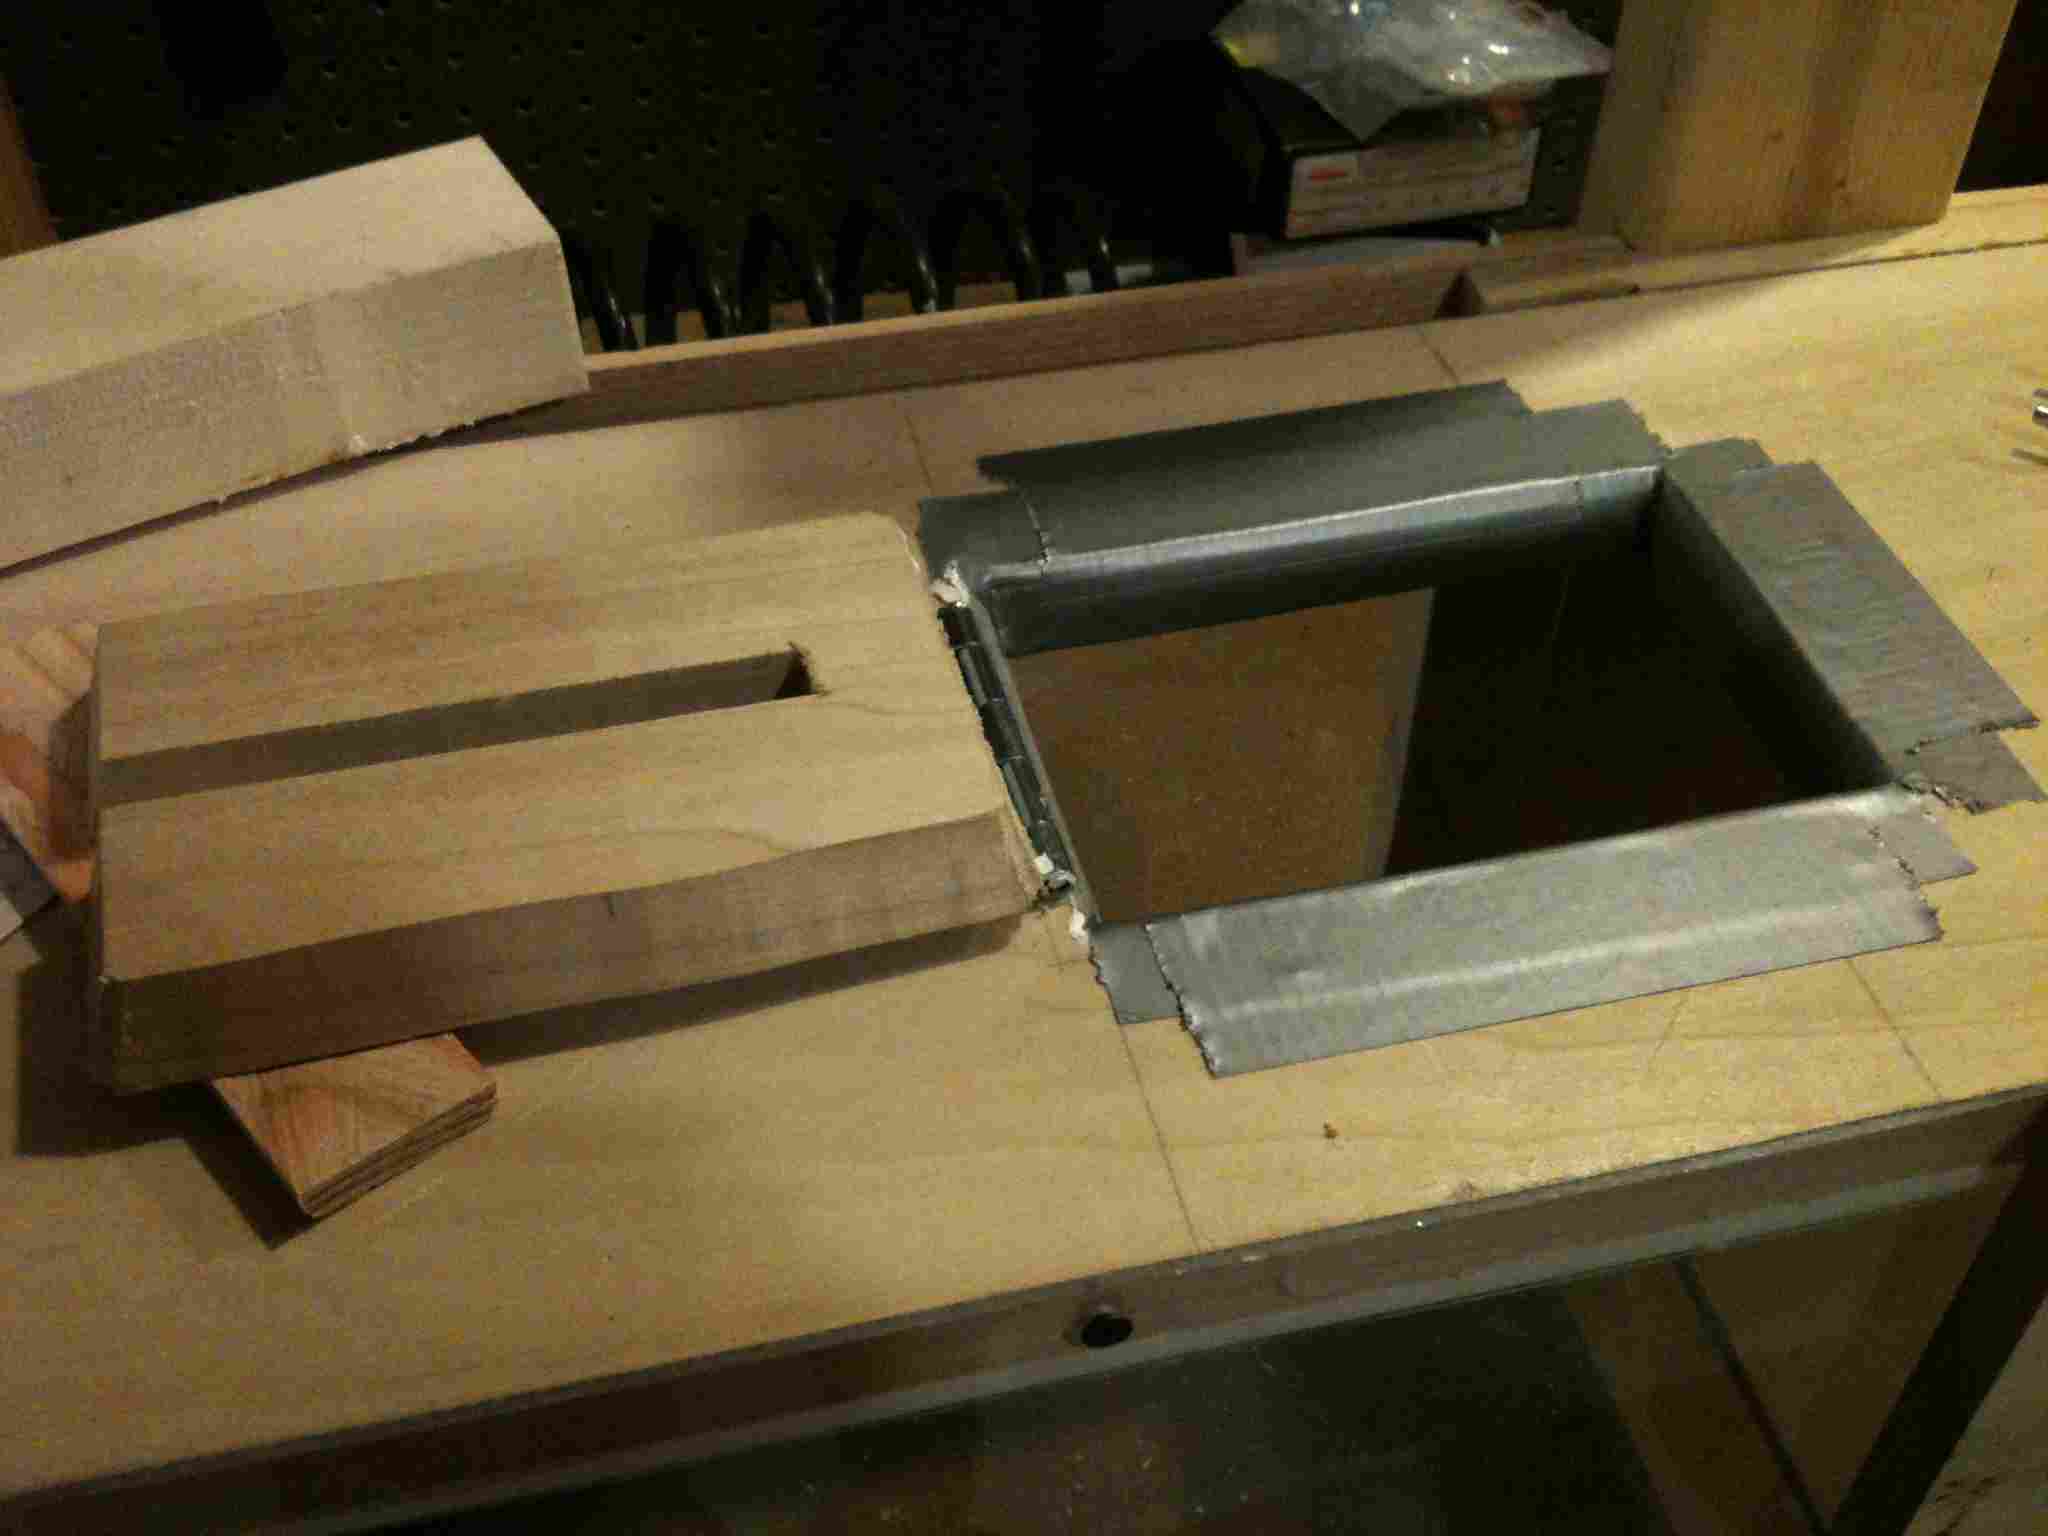
Lastly, cut a slot for the arm which holds the specimens, seal the drilled holes with some putty and we did it! We now can gain access to our wind tunnel. Here are two final pictures!!
Until next time, keep researching.
Best Regards,
Ben Washington