Dear Fellow Basement Scientists,
Wind Tunnel construction had taken a little break for our adventure into the world of interesting photos, but its time to meander back to our basements. Last time we planned the construction of the bell mouth so now we shall execute our plan. This part of the wind tunnel construction is a little more detailed oriented, which makes it more difficult, but the joy seeing it completed is even greater! There is unspeakable satisfaction when I behold on the table what I pictured in my mind.
We already determined the size, shape, and surface material of the bell mouth. Also, I already bought the the aluminum flashing for the surface which will be screwed into ribs which must be attached to the test section. Connecting the ribs to the test section enters us into the world of carpentry joints. I believe joints are the most difficult and probably most important aspect of construction. When I am flying by the seat of my pants, like now, I go basic. What is the most basic, simple, easy, while secure way to do this? I decided on gussets, meaning screw the ribs to a piece of wood and then screw that to the test section. (I looked up the definition of gussets, and it said they were steal joint reinforcements. Well, I am working with wood and not steal so if anyone has a better word to use than gussets, let me know. For now, lets continue to call them gussets.)
What is available? I have long 1″x2″ board which should suffice.

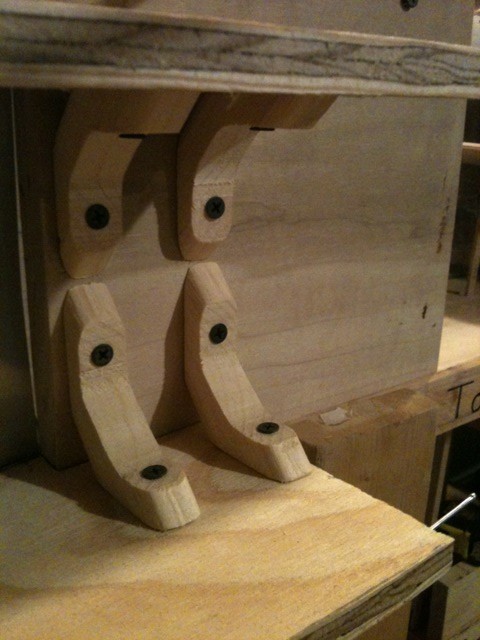
The most important dimension of the gussets is that they have a perfect right angle between the attachment surfaces. This ensures the ribs are not crooked. I made a pattern with my square and hacked away with the scroll saw, a little later, 16 gussets! I checked their squareness, most were good enough, but I had to remake a couple.

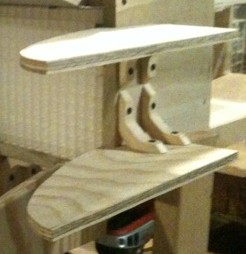
Now for the Ribs: What do we have available? The ribs have to be at least 10″ long and 5″ tall, so some plywood I have is best suited for this task. They must have a little more length for attachment and a step to account for the test section wood. I made two unique ribs, for the different vertical and horizontal shapes, and then used them as a pattern to finish all eight. Remember, the dimensions were outlined last time. I must say I become quite proficient with this scroll saw from using it so much.

We have made all the pieces so line the parts up straight, drill some tap holes, and screw ’em in. (It was a lot more time consuming than that sentence implied, but that’s basically all I did). Ah, the joy of making something useful. Right now it looks like this cool spidery thing, but next we shall install the aluminum flashing.
In summary: We planned ahead, used what we had, and now have something which will work just fine. Until next time, Live long and explore.
Best Regards,
Ben Washington